SD Card Replacement in ST-One Hardware®
This guide is designed to assist the user in replacing the SD card in the module, whether as a preventive measure or due to a failure.
SUMMARY
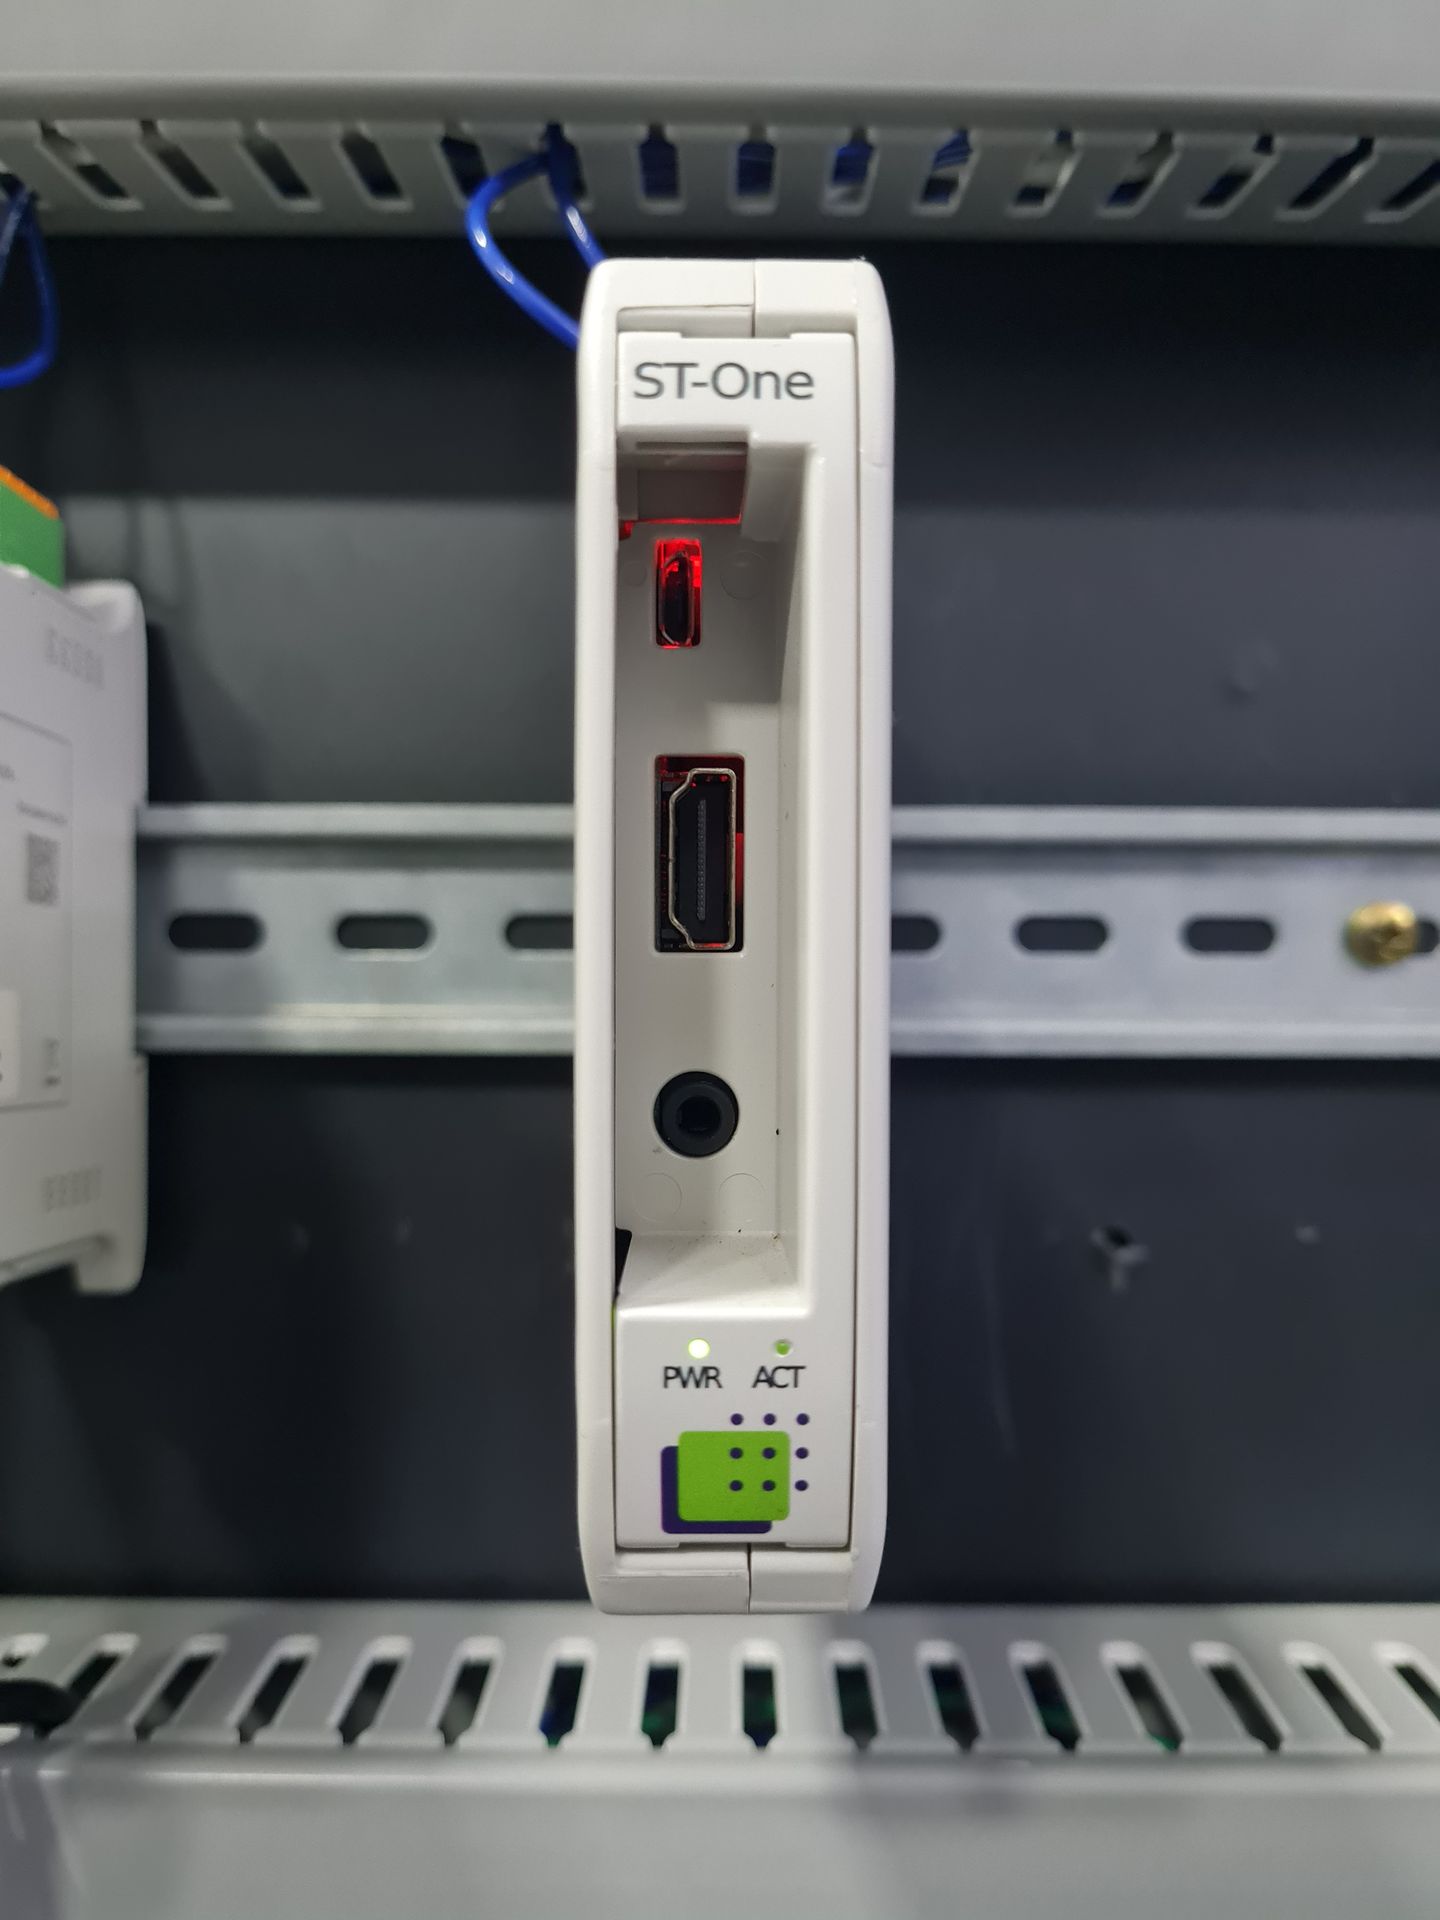
Step 1: ST-One Hardware® Removal
- Go to the location where the ST-One Hardware® is installed and remove it from the panel.
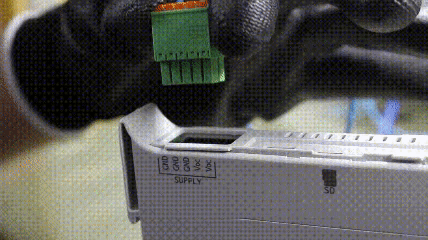
- Remove the Phoenix connector from the top to power off the device.
- On the bottom, there is a red latch that secures the device to the rail: pull the latch down to release it.
Step 2: SD Card Replacement
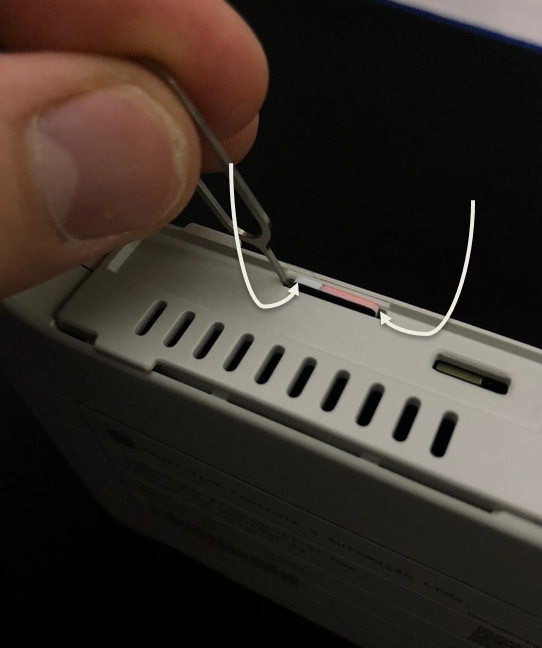
1. Removing the SD Card
To remove the SD card, use a small-pointed tool that can fit between the SD card slot and the device's structure.
With great care, gently move the SD card back and forth, applying moderate force to the edges.
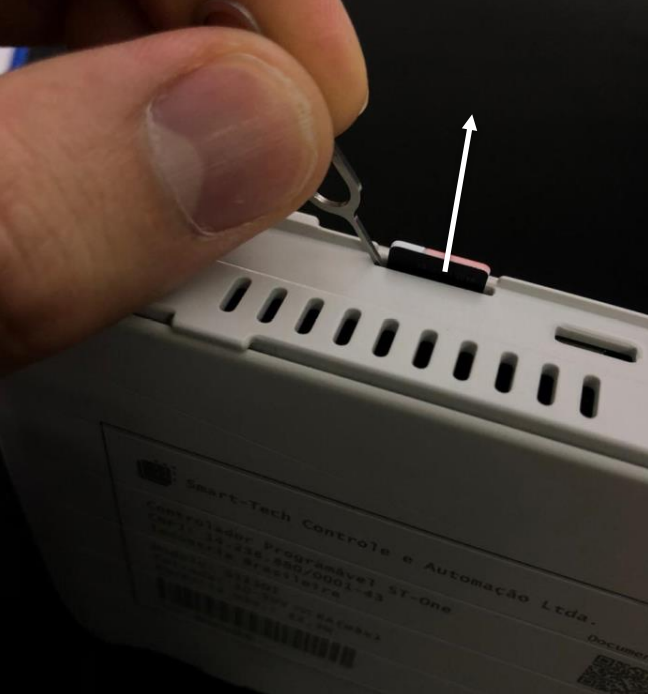
When the SD card is partially ejected, finish removing it by gently pulling it out with your hands.
After removing the old SD card, insert the new SD card into the same slot. Make sure it is securely placed and properly aligned.
Step 3: Configuration
In cases where the ST-One Hardware® is connected to the local Wi-Fi network, it will be necessary to configure the device before returning it to its permanent installation location.
To connect the ST-One Hardware® to Wi-Fi, refer to the Network Configuration article.
For any questions, please contact the ST-One Support team at: support@st-one.io.
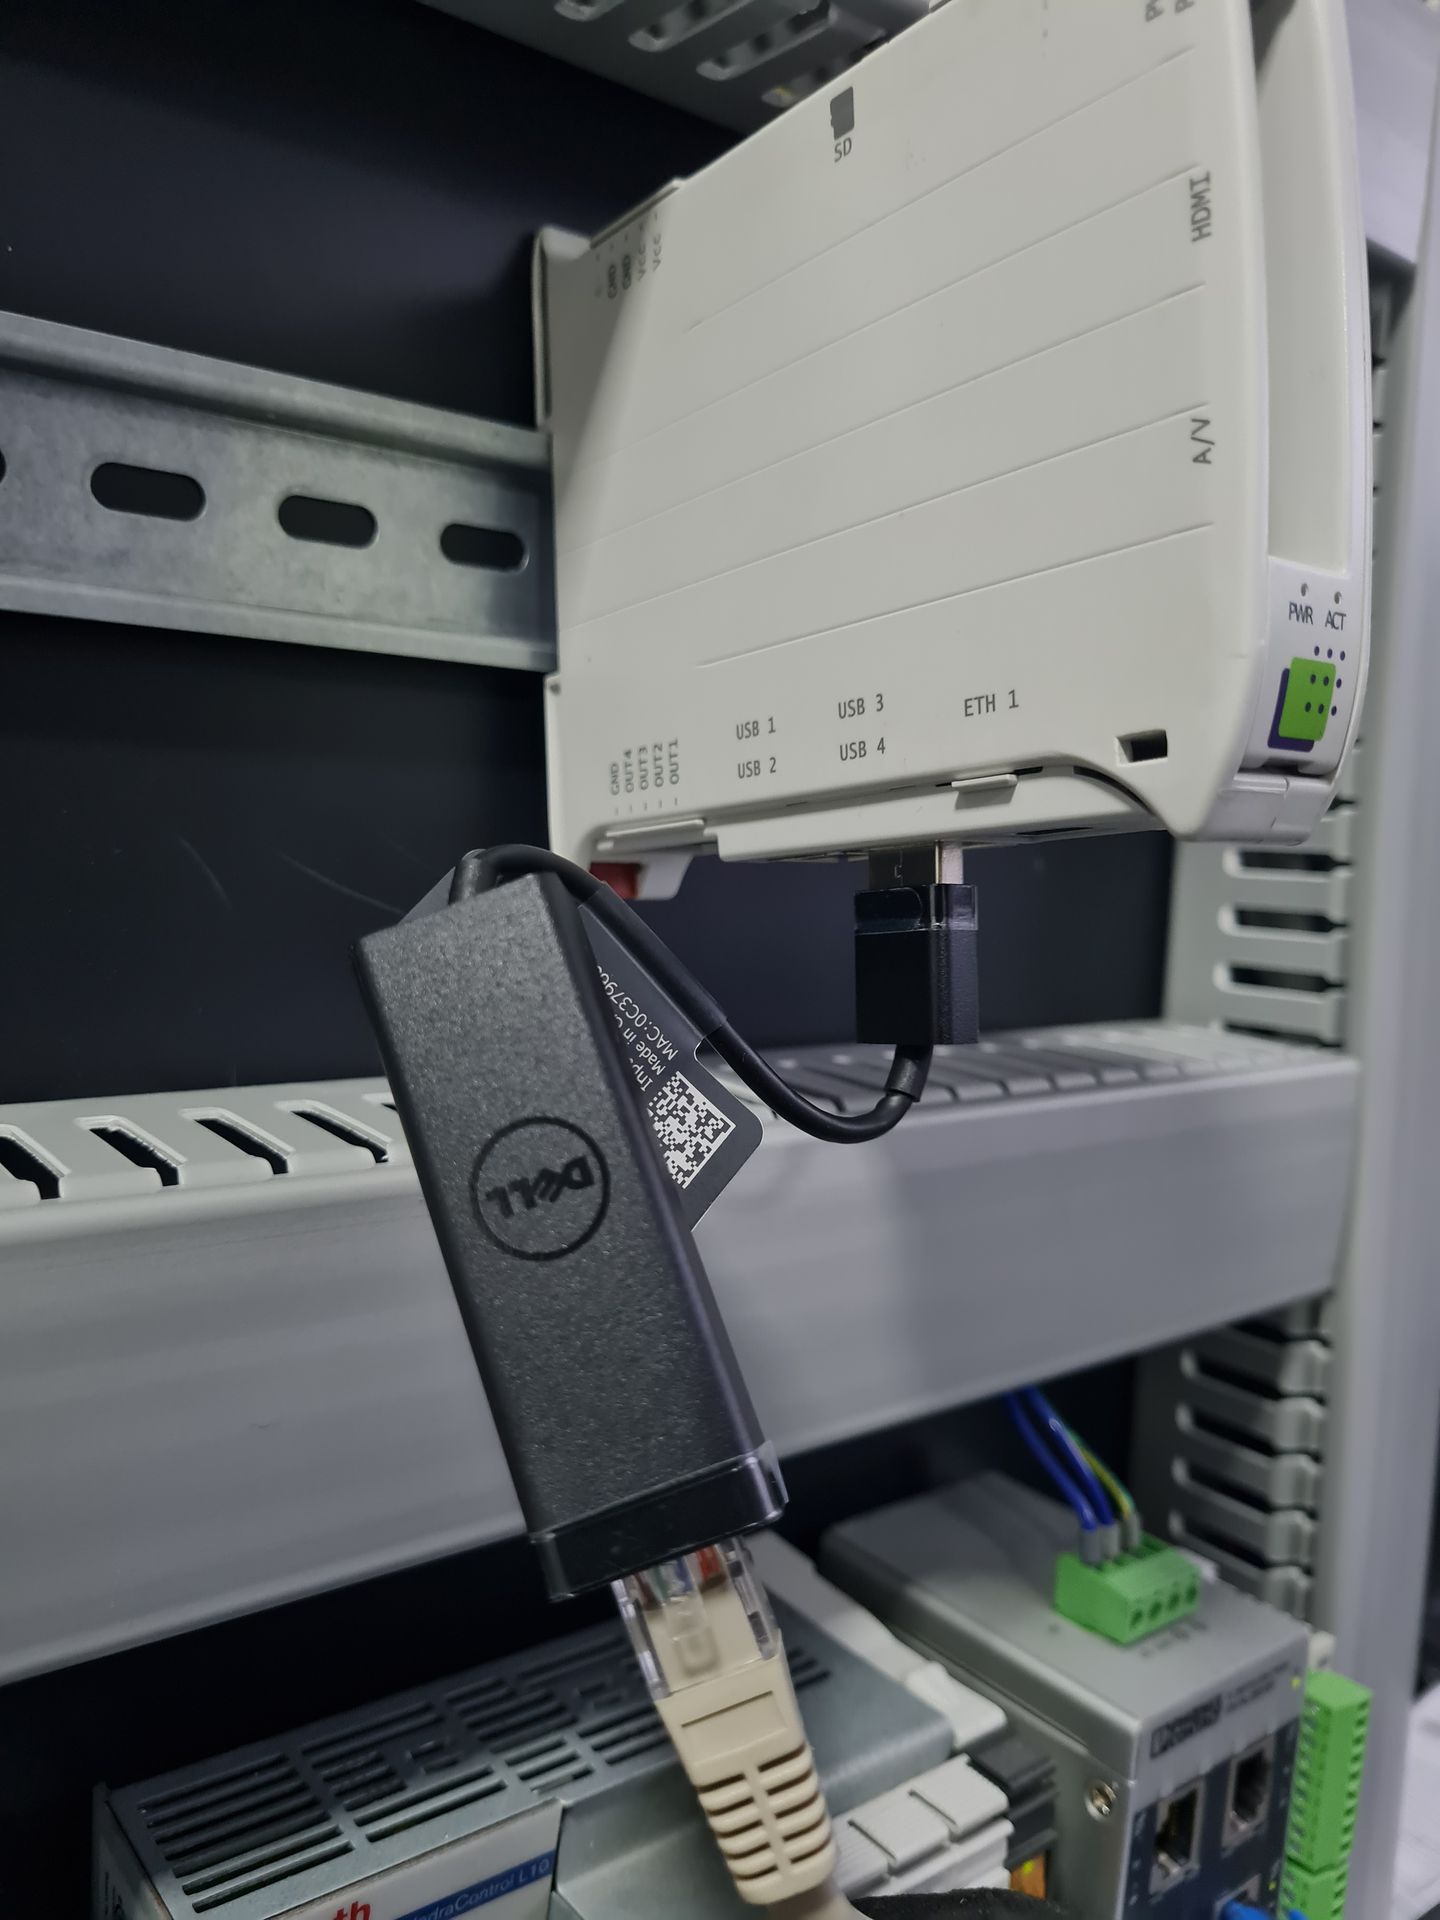
Step 4: Device installation
Return the ST-One Hardware® to its original or permanent installation location, reconnecting the Phoenix connector and all the cables that were previously connected to it, as shown in the examples below: