[EN] Cockpit
Cockpit
This guide provides step-by-step instructions on how to access the Cockpit.
SUMMARY
Accessing the Cockpit1. Accessing the ST-One Hardware® Cockpit:
2. Access Options
Web display
1. Accessing the Cockpit2. Available Settings3. Applying the ChangesSettings Menu
1. System2. Logs3. Networking4. Display5. Accounts6. ServicesLogs1. Accessing Logs2. Enabling Persist Logs3. Disabling Persist Logs
Accessing the Cockpit
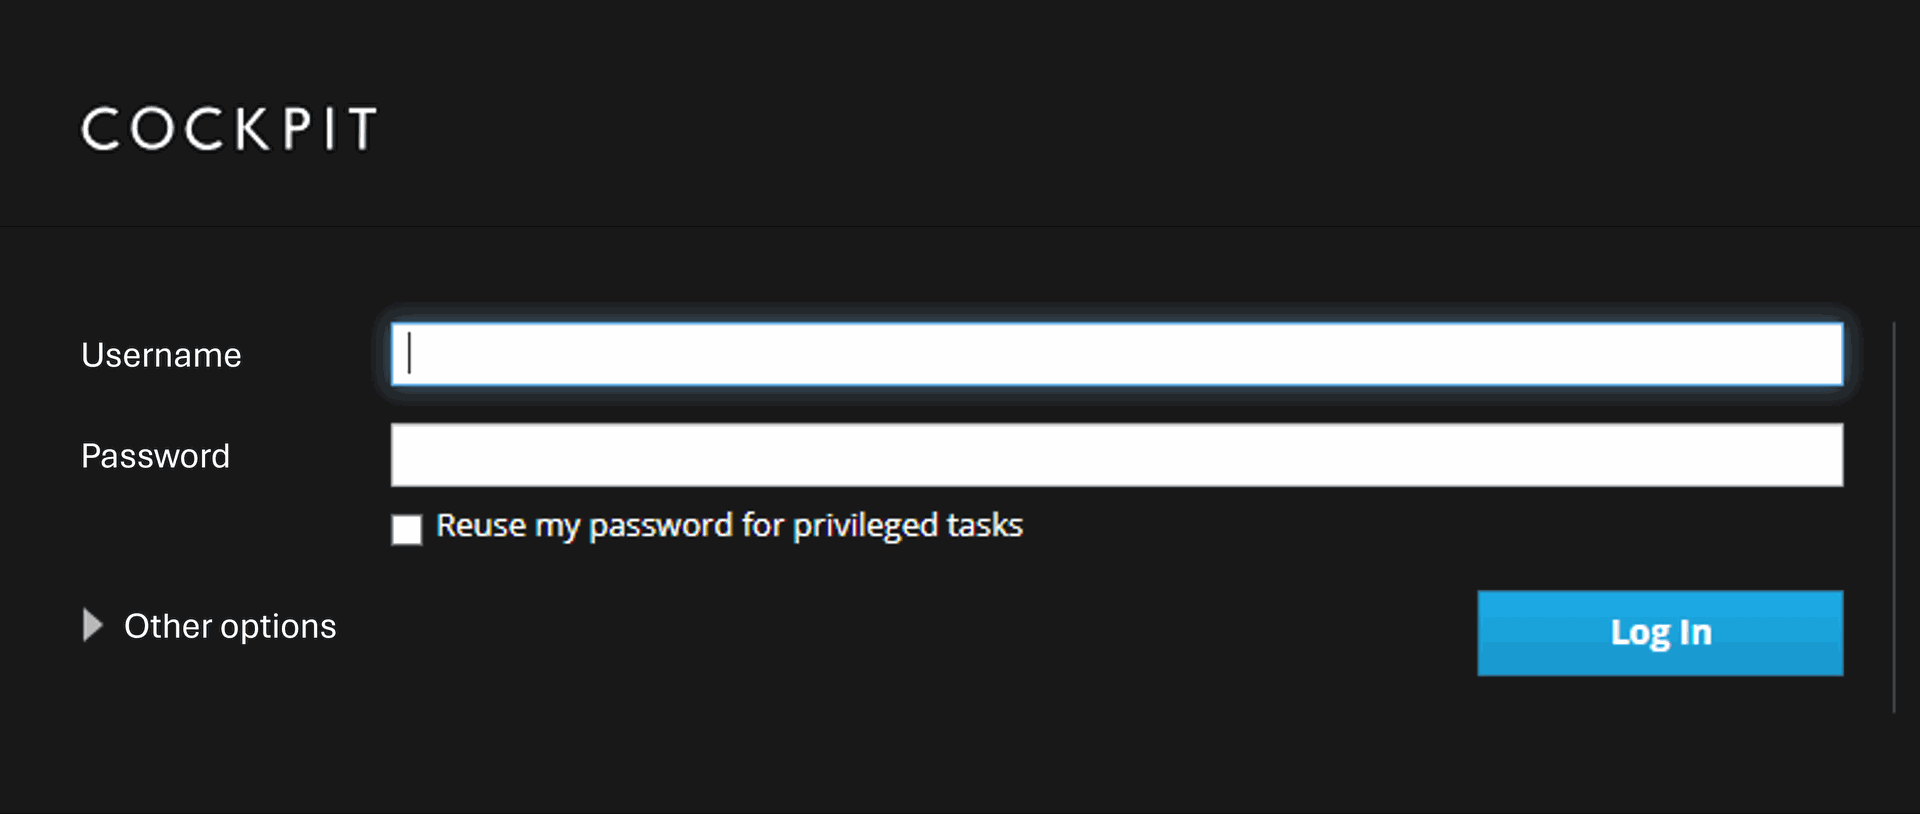
1. Accessing the ST-One Hardware® Cockpit:
- Open your web browser and enter the ST-One Hardware® Cockpit address;
- Enter the username and password as indicated in the "Access Password" section of the "Getting Started" document (included in the box).
2. Access Options
- Hostname:
- https://st-one:9090/system
- https://st-one/cockpit
- https://st-one:9090
- If the default Hostname does not work, use the fixed IP assigned by your IT team for the ST-One Hardware®:
- https://numero-do-ip/cockpit
- https://numero-do-ip:9090
- If the ST-One Hardware® is connected via Micro-USB Cable, use the Safe-mode IP:
- https://10.42.0.1/cockpit
- https://10.42.0.1:9090
Web display
This guide describes how to configure a web page on the HDMI output of the ST-One Hardware®.
1.
Accessing the Cockpit
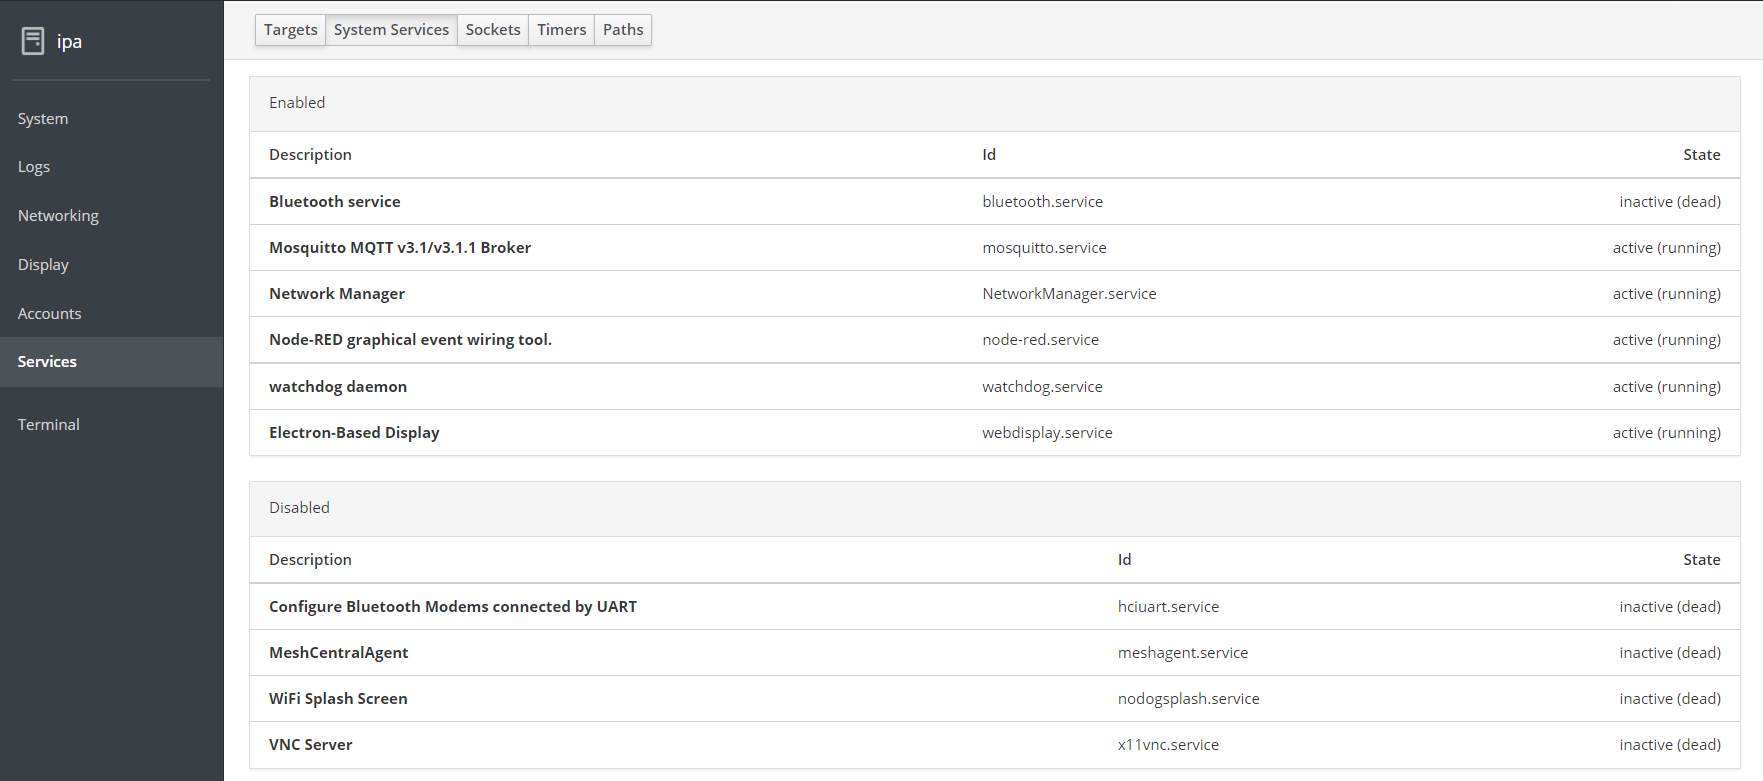
- In the Cockpit, go to the "Services" tab and click on the "Electron-Based Display" service.

2. Available Settings
- Target URL: Enter the URL of the website you want to display;
- Background Color: Set the screen background color. By default, it is white;
- Display Sleep: Configure whether the monitor should turn off after a period of inactivity;
- Menu Bar: Choose whether to display the browser's Task Bar.
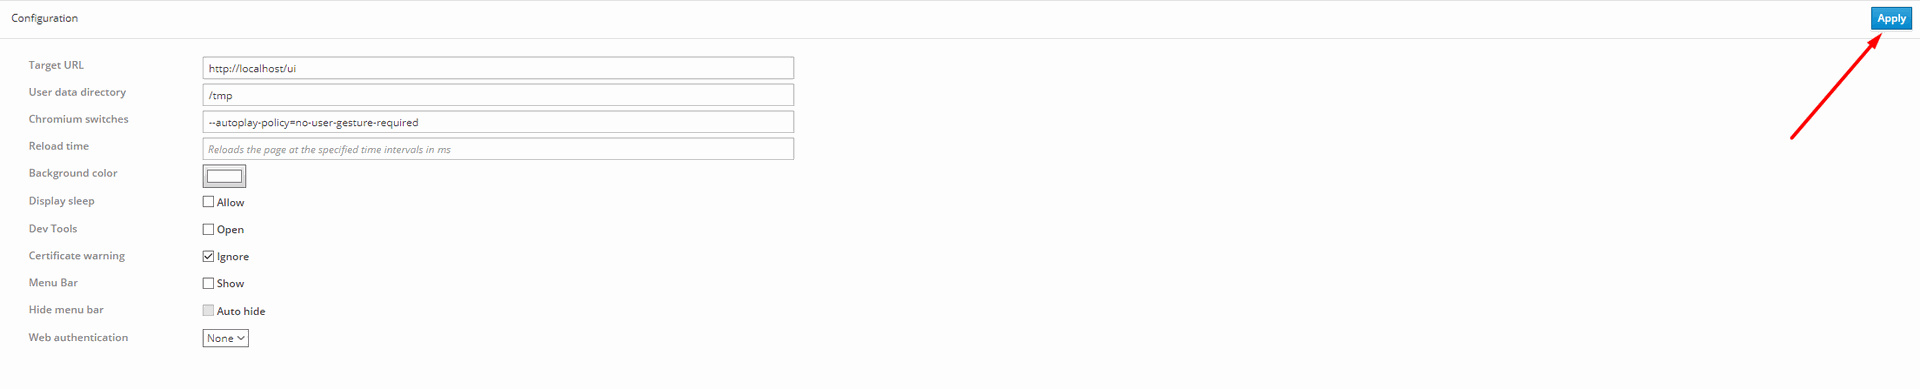
3. Applying the Changes
- After making the desired changes, click the "Apply" button.
- To validate the settings, the server must be restarted. Click the arrow and select "Restart".
- Wait approximately 10 seconds for the service to restart. After this, the website will be displayed as the main screen of the ST-One Hardware®.
Settings Menu
This guide describes the Settings Menu in Cockpit.
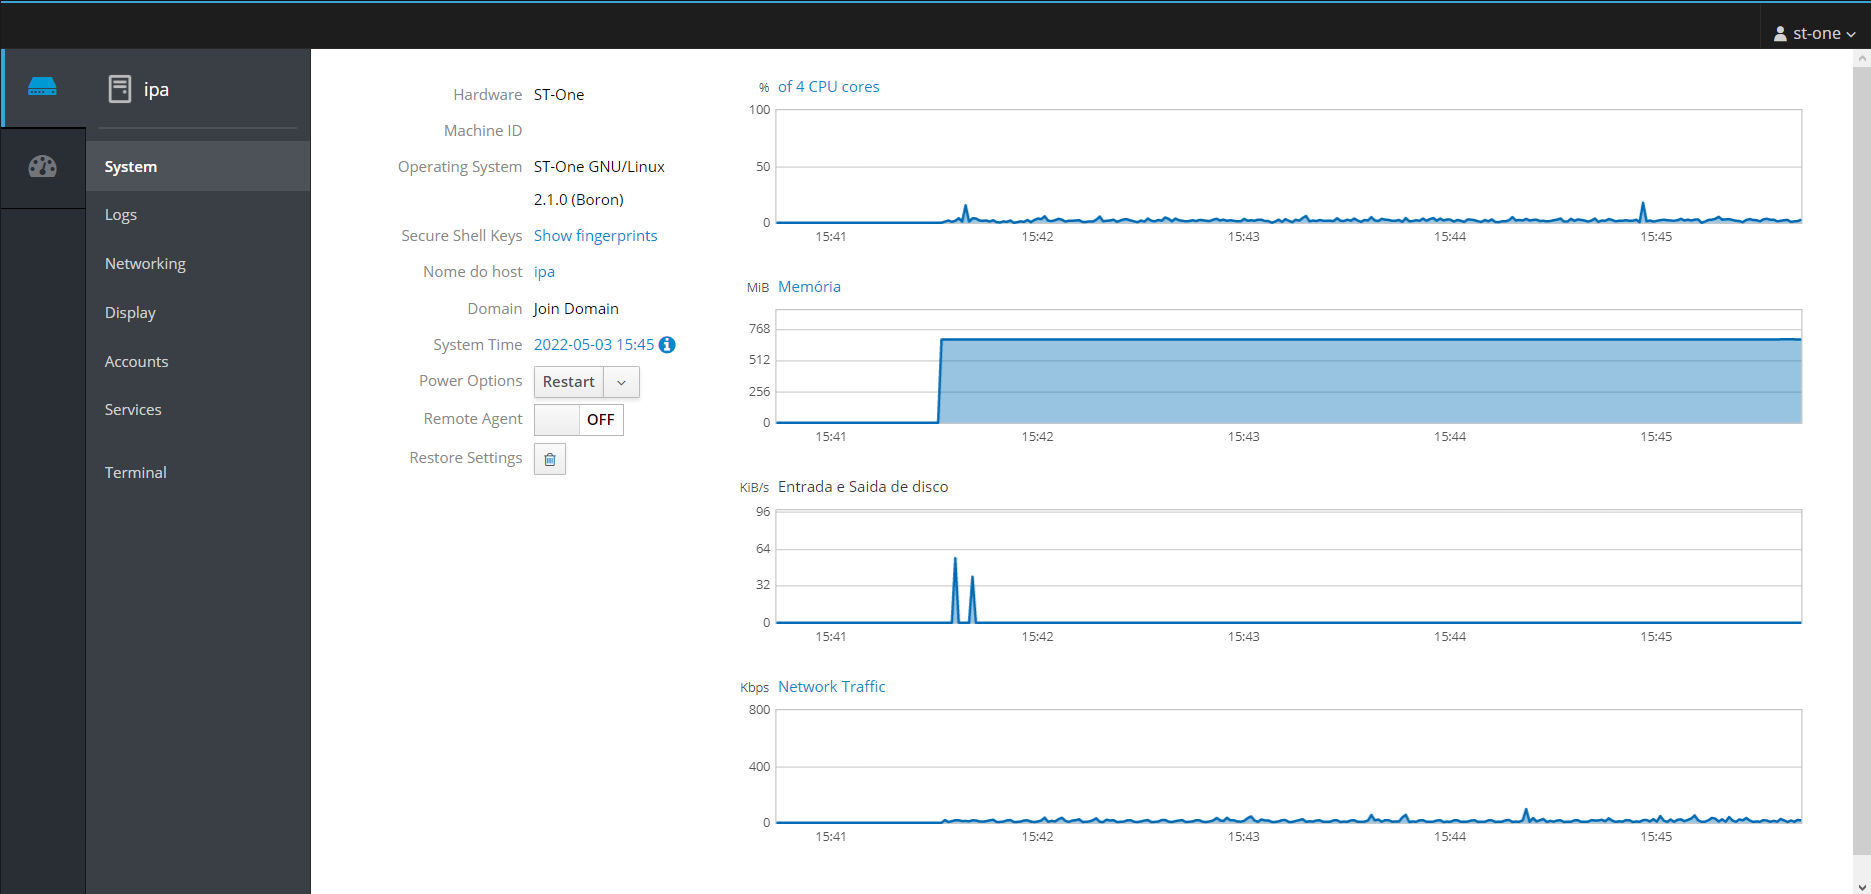
1. System
- Power Options: Allows you to restart or shut down the ST-One Hardware®, with delay options if necessary.
- Hostname: The name of the ST-One Hardware® on the network. For example, if the host is set to "device," use the link https://device.
- System Time: Configure the system's time zone as needed.
- Restore Settings: Option to restore the ST-One Hardware® to factory settings. For more information, refer to the Restoration (Factory Reset) article.
2. Logs
-
Logs: View logs (event records) of the ST-One Hardware®. For more details, refer to the "Logs" section below.

3. Networking
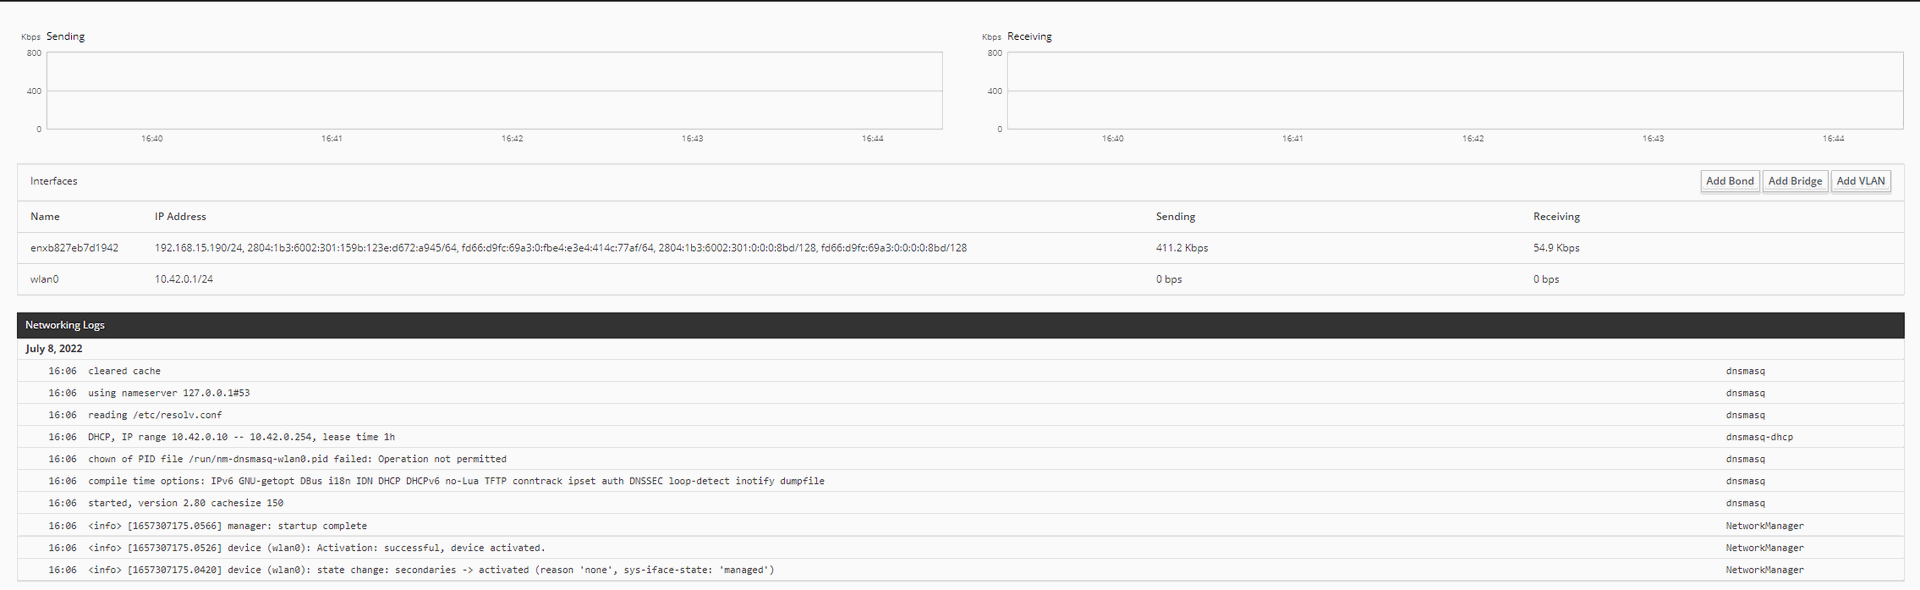
-
Networking: This tab is used to configure the ST-One Hardware® network, integrating it with our services and data collection equipment. For more information, refer to the Network Configuration article.
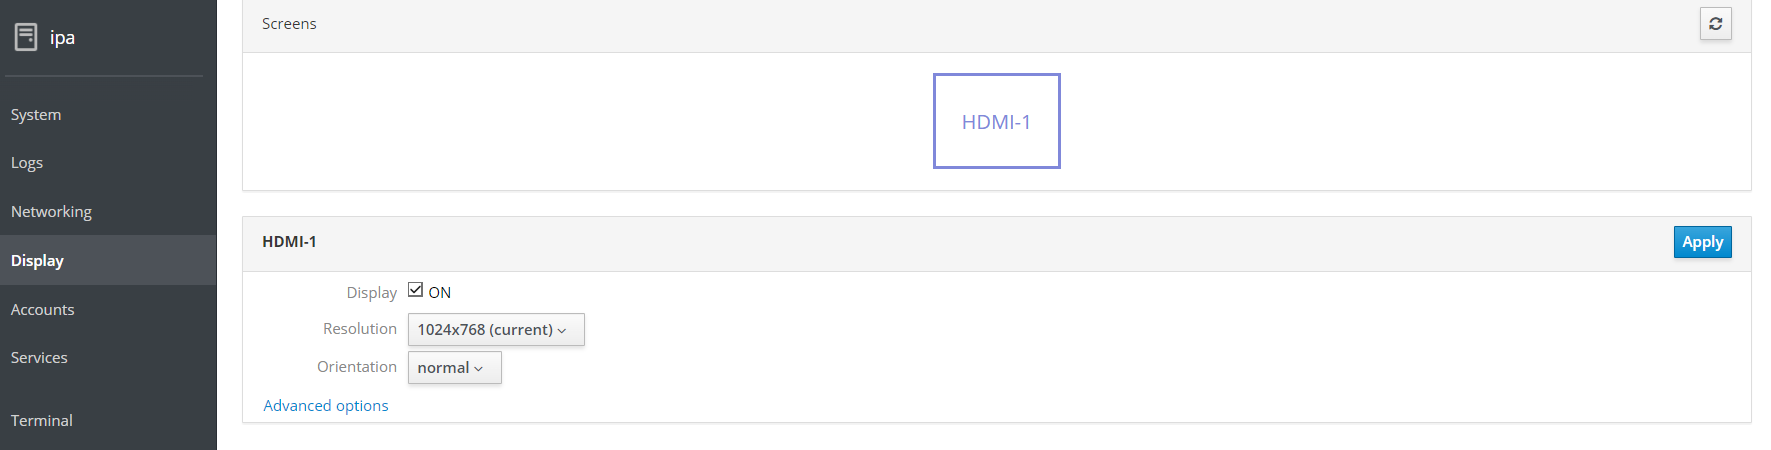
4. Display
-
Display: Use the ST-One Hardware® HDMI output to display a web page on a monitor or TV. For more information, refer to the "Web Display" section above. In this tab, you can configure the orientation and resolution of the HDMI output.
5. Accounts
-
Accounts: Configure the login and password options for the ST-One Hardware®. You can change the access password in this tab.
[Print]
6. Services
- Services: Manage all active services used by the ST-One Hardware® in this tab.
Logs
This article explains how to view the ST-One Hardware® Logs (event records).
1. Accessing Logs
- Enter the ST-One Hardware® Cockpit.
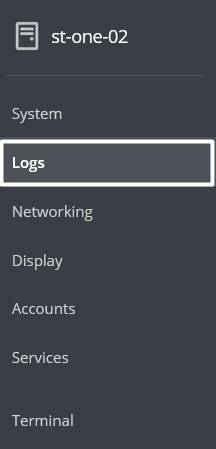
- Navigate to the "Logs" tab.
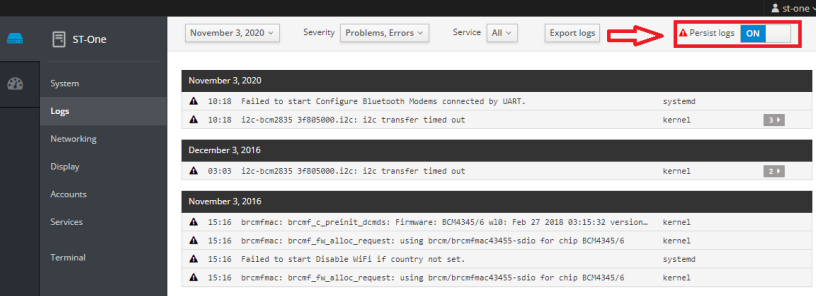
- In this section, a wide range of information will be displayed. To simplify analysis, use the filters available at the top of the page: Date, Severity and Service.

- Use the "Export Logs" button to export logs as TXT files if necessary.
2. Enabling Persist Logs
- This option saves/logs events from the ST-One Hardware® permanently, even after restarts.
- In the "Logs" tab, enable the "Persist Logs" option by clicking it and selecting "ON".
- After enabling, you must restart the system:
- Go to the "System" section.
- Click the arrow in "Power Options", select "Restart", and choose "No Delay".
- Once the LED is green, the ST-One Hardware® will have restarted with "Persist Logs" enabled.
3. Disabling Persist Logs
- To disable, repeat the process, changing the "Persist Logs" option to "OFF";
- Restart the system as described above.
For questions, contact support at:
support@st-one.io