Initial Configuration of ST-One Hardware®
This guide aims to outline the installation steps for the ST-One Hardware®
SUMMARY
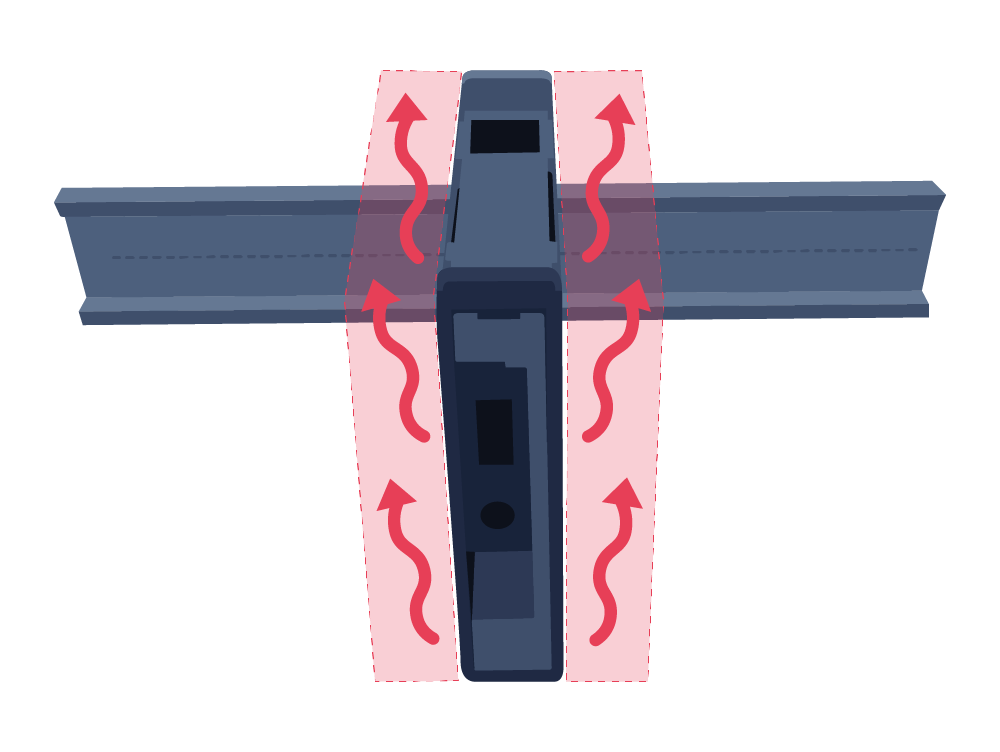
WARNING: Heat Dissipation Area
Step 1: Before You Begin
Make sure you have the following materials on hand before setting up the ST-One Hardware®:
- Laptop: To access the device and complete the configuration.
- Power Connector: Included in the device packaging.
- Micro-USB Cable: Required to power the device - Not included in the packaging.
- USB Power Supply: You can use a computer with a USB 3.0 port or a portable charger as an alternative power source.
- Network Details: Ensure the device can send data to our cloud. Reminder: The network designated for the ST-One Hardware® must comply with the Firewall Rule Requirements.
Step 2: Initial Configurations (Safe Mode)
1. Power On the ST-One Hardware® via the Micro-USB Port
- Connect the Micro-USB cable to the device.
- Plug the cable into a USB 3.0 port, a 5V power adapter, or a portable charger.
- Wait until the front "PWR" LED flashs green, as shown below:
Once the "PWR" LED starts flashing green, proceed to the next step.
2. Connect to the Access Point (Hotspot)
Once the "PWR" LED is green, the ST-One Hardware® will create its own Wi-Fi network (Hotspot) named ST-One_xxxxxxx.
On your computer, connect to the Hotspot network created by the device. The network password can be found in the Access Password section of your Quick Start Guide (document included in the device packaging).
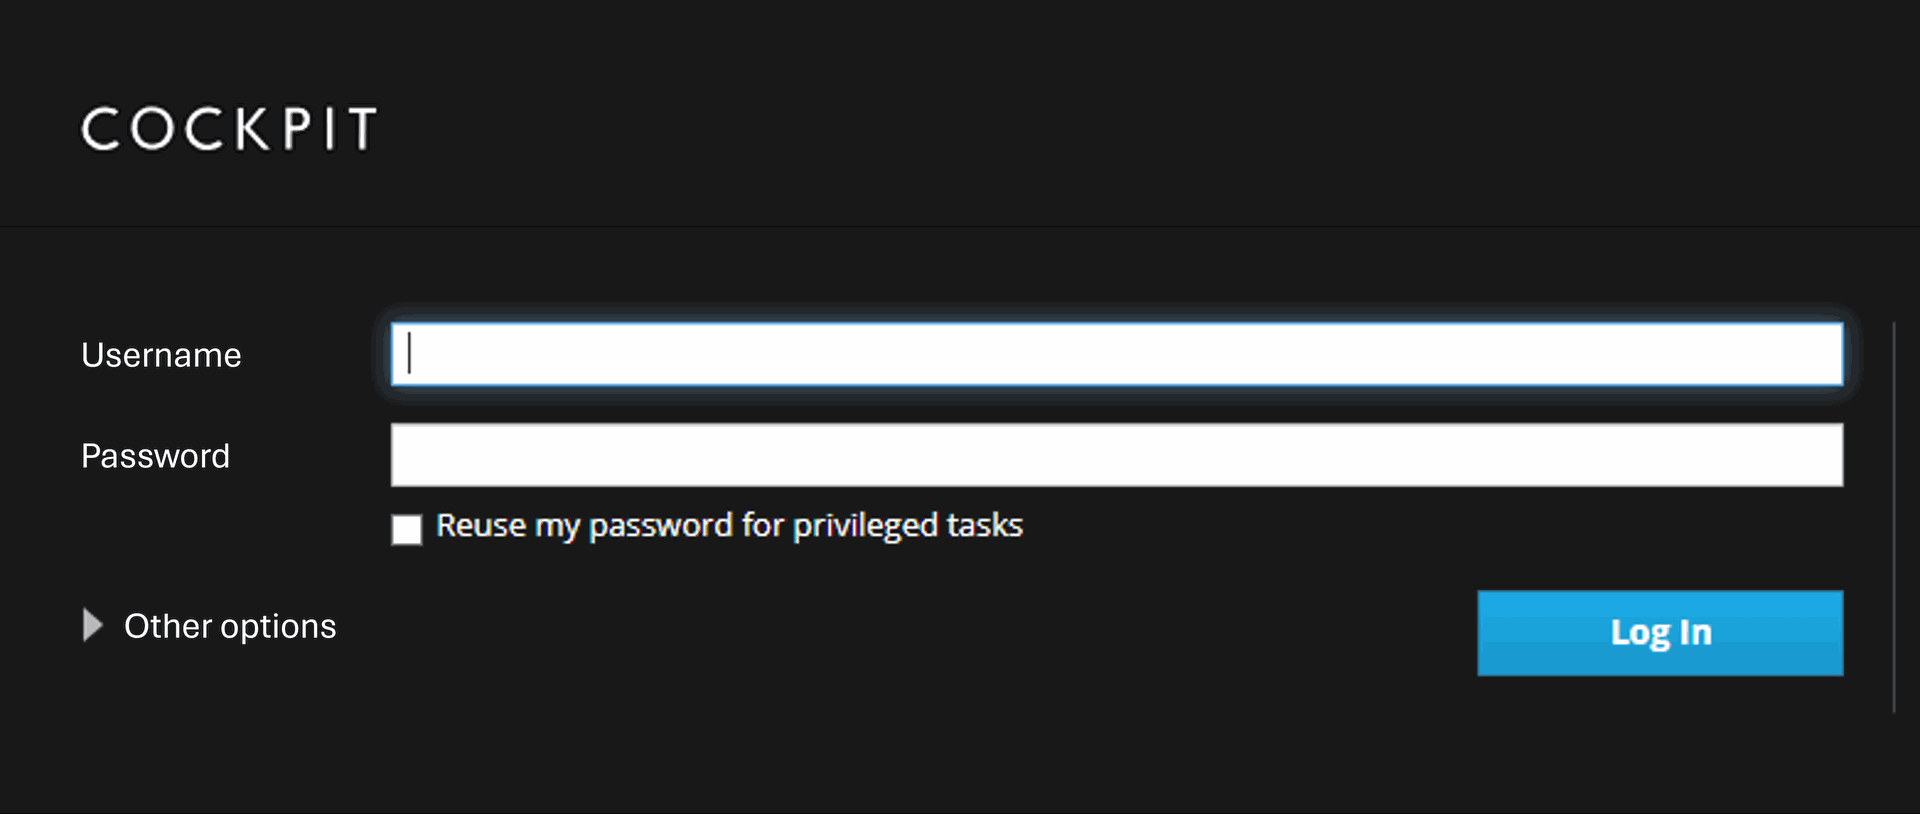
3. Accessing Cockpit
With your computer connected to the Hotspot network, access the Cockpit (ST-One Hardware® settings page). You must use the device's access password (included in the packaging).
To access the Cockpit, click here:
https://10.42.0.1/cockpit or https://st-one/cockpit
When accessing the Cockpit, enter your username and password on the main screen.
4. Networking Configuration
a. Inside the Cockpit, go to the "Networking" tab to configure the network and connect the device to our cloud.
Refer to the Network Configuration article for optional settings such as Host/Hostname, password changes, and other utilities. For more information, consult the Cockpit article.
b. After completing the Network Configuration, go to the "System" tab, click on the "Power Options" column, select the "Shutdown" option, and then choose "No Delay".
When the "PWR" LED turns orange, disconnect the Micro-USB cable with the ST-One Hardware® powered off.
Powering On the ST-One Hardware®
Install the device in its permanent location and connect the power supply as indicated, using the Phoenix Contact DFMC connector (included in the packaging).